Why?
Is what I imagine the first question to pop into your head, why on so many levels did you do this. Well if you are interested in my rant about why kubernetes, it will bring you up to speed.
The why I’m answering here is what version of Kubernetes did I go for and that would be k3s a lightweight, batteries included kubernetes deployment that allows me to sink my teeth in without drowning in platform engineering for the next few years. k3s will allow me to learn the ins and outs of Kubernetes so I can shoot myself in the foot on my own time!
What We’re Building
This post walks through deploying a full home media server on k3s. The stack includes Jellyfin for media streaming, the arr ecosystem (Sonarr, Radarr, Prowlarr) for automation, all served over HTTPS via a Let’s Encrypt wildcard certificate using Cloudflare DNS. Media files are stored on an SMB share set up in my previous plex post.
Here’s how the pieces connect:
flowchart LR
  subgraph HomeLAN
    A[Browser] -->|HTTPS 443| T[Traefik]
    T -->|HTTP 8096| J[Jellyfin Pod]
    T -->|HTTP 8989| S[Sonarr Pod]
    T -->|HTTP 7878| R[Radarr Pod]
    T -->|HTTP 9696| P[Prowlarr Pod]
    J & S & R & P ---- PVC
    PVC ---|SMB CSI| NAS[(SMB Share //nas/media)]
  end
TL;DR: k3s > Docker
Full arr stack is deployed with a helm chart and a
values.yamldrives your customisations. Little preprep required with configuring cert-manager + SMB share but that’s below :D
Prerequisites
Let’s start with Installing k3s
curl -sfL https://get.k3s.io | sh -
kubectl get nodes -o wide
kubectl -n kube-system get svc traefik -o wide
# NOTE EXTERNAL-IP (e.g. 192.168.0.69) and NodePorts for 80/443
Pro tip: If you prefer a different ingress controller later, you can disable the bundled Traefik but for a home lab, the defaults are perfect for me.
Now install Non-Helm Chart Services The single helm chart will deploy almost everything we will need but first a few manual steps before that magic we will need to install the following services:
- cert-manager (via
kubectl apply) - SMB CSI driver (installed once cluster-wide)
Cloudflare DNS
Cloudflare is my DNS, would highly recommend, they offer domains at cost… Need I say more. But no matter what DNS you are using create an A/CNAME record like jellyfin.example.com and point it to your local node IP (e.g. 192.168.0.69).
You can also just forward all traffic there if you like with *.example.com
Start with DNS-only to hit the LAN origin directly while testing. Later experiment with Cloudflare proxying or use Cloudflare Tunnel. Personally, I only care to stream to my LAN.
With domain acquired and DNS setup now for the setup of the certificate management.
Install cert-manager
Certificate manager will allow for all content to be served over https://. Once set up we will never have to do it again. Let’s knock this puppy out.
kubectl create namespace cert-manager
kubectl apply -n cert-manager \
  -f https://github.com/cert-manager/cert-manager/releases/download/v1.14.4/cert-manager.yaml
kubectl -n cert-manager get pods
With certificate manager installed we now want to deploy 2 components. A certificateissuer.yaml that will handle the refreshing of certifications and a wildcard-cert.yaml that will be the certificate for the cluster to use. A wildcard certificate is good enough we dont need to go down the unique certificate per subdomain route. Let’s start with our certificate handler…
# clusterissuer.yaml
apiVersion: cert-manager.io/v1
kind: ClusterIssuer
metadata:
  name: letsencrypt-dns01
spec:
  acme:
    email: [email protected]
    server: https://acme-v02.api.letsencrypt.org/directory
    privateKeySecretRef:
      name: le-dns01-account-key
    solvers:
      - dns01:
          cloudflare:
            apiTokenSecretRef:
              name: cloudflare-api-token-secret
              key: api-token
Next with our deployment script prepared let’s generate our Cloudflare token and deploy the config to our cluster.
kubectl -n cert-manager create secret generic cloudflare-api-token-secret \
  --from-literal=api-token='<YOUR_CF_API_TOKEN>'

kubectl apply -f clusterissuer.yaml
kubectl get clusterissuer letsencrypt-dns01 -o yaml | grep -A3 status:
Next we deploy our wildcard certificate to the cluster.
# wildcard-cert.yaml
apiVersion: cert-manager.io/v1
kind: Certificate
metadata:
  name: home-wildcard
  namespace: default
spec:
  secretName: example-cert
  dnsNames:
    - example.com
    - "*.example.com"
  issuerRef:
    kind: ClusterIssuer
    name: letsencrypt-dns01
kubectl apply -f wildcard-cert.yaml
kubectl -n default get secret example-cert   # expect type: kubernetes.io/tls
Heads-up: If you see
invalidContact: ... example.comand you used a placeholder email like me. Put a real address in theClusterIssuer.
Install SMB CSI driver
Next we want to setup our SMB driver even though our Helm chart deploys SMB the SMB mounts as part of the helm chat the chart doesn’t install the driver itself. We can achieve that by doing the following.
helm repo add csi-driver-smb https://raw.githubusercontent.com/kubernetes-csi/csi-driver-smb/master/charts
helm repo update
helm upgrade --install csi-driver-smb csi-driver-smb/csi-driver-smb -n kube-system
If your chart expects a StorageClass (e.g. smb) or an SMB credentials Secret, create them first (or let your chart create them). The key is: the driver must exist before pods try to mount.
Deploy the Helm Chart
You can find the Helm chart that I have used to deploy.

This chart handles apps, Services, Traefik IngressRoutes/Middlewares, and SMB share wiring. Adjust your values as you see fit, SMB server/share and domain.
# values.yaml (excerpt)
global:
  domain: example.com
  tlsSecret: example-cert
  ingressClass: traefik

smb:
  server: 192.168.0.2
  share: media
  storageClassName: smb
  secret:
    name: smbcreds
    username: "<smb-user>"
    password: "<smb-pass>"

apps:
  jellyfin:
    enabled: true
    image: linuxserver/jellyfin:latest
    port: 8096
    host: jellyfin.{{ .Values.global.domain }}
    mounts: { config: /config, library: /library }
    ingress: { entryPoints: [websecure], scheme: http, middlewares: [default-headers] }

  sonarr:
    enabled: true
    image: linuxserver/sonarr:latest
    port: 8989
    host: sonarr.{{ .Values.global.domain }}
    mounts: { config: /config, downloads: /downloads }
    ingress: { entryPoints: [websecure], scheme: http }

  radarr:
    enabled: true
    image: linuxserver/radarr:latest
    port: 7878
    host: radarr.{{ .Values.global.domain }}
    mounts: { config: /config, downloads: /downloads }
    ingress: { entryPoints: [websecure], scheme: http }

  prowlarr:
    enabled: true
    image: linuxserver/prowlarr:latest
    port: 9696
    host: prowlarr.{{ .Values.global.domain }}
    mounts: { config: /config }
    ingress: { entryPoints: [websecure], scheme: http }
With all the variables set, we can now deploy this bad boy with:
helm upgrade --install home-stack <PATH-TO-CHART> -n default -f values.yaml
kubectl -n default get pods,svc,ingressroute
Expectation setting: At this point Jellyfin should be reachable at
https://jellyfin.example.com. If you see 502, jump straight to the next section.
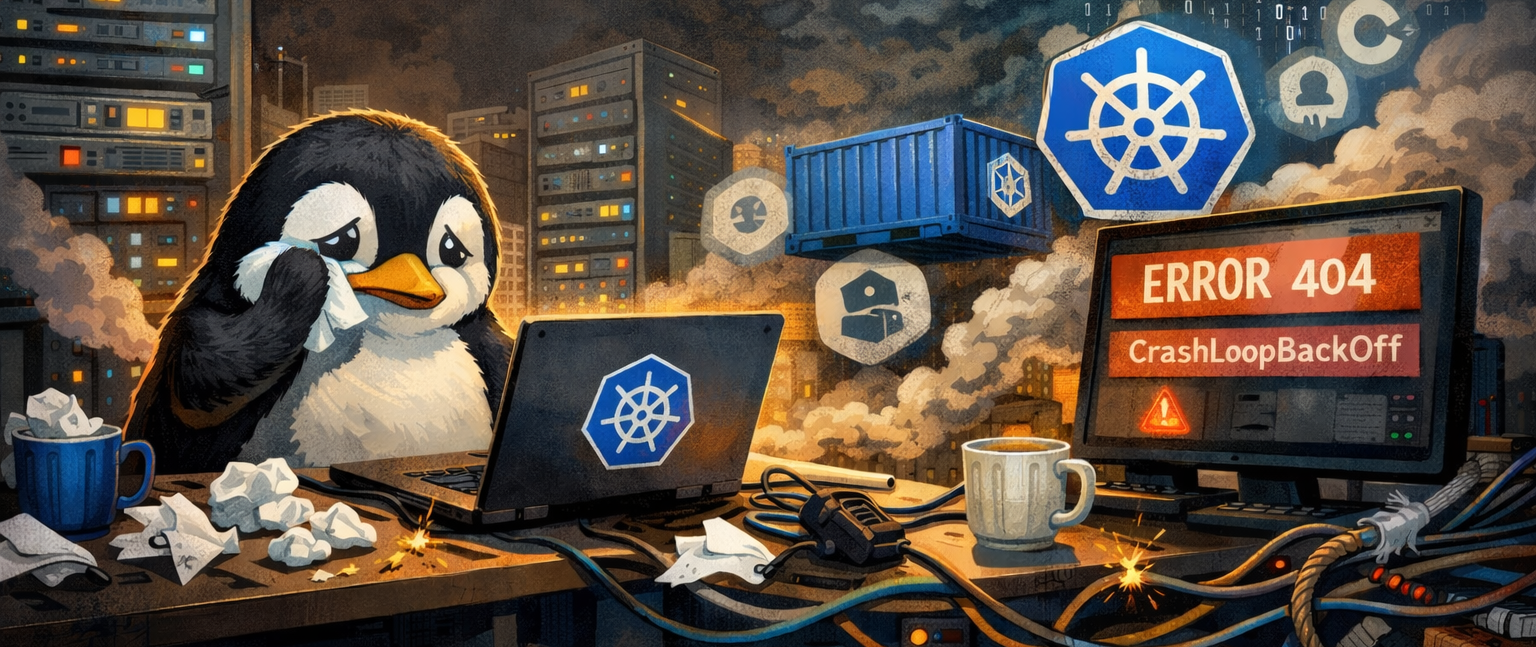
Troubleshooting 502 Errors
A 502 after deploying is almost never a cluster problem - it’s a routing problem. Work through the following steps in order before assuming anything deeper is broken.
Step 1: Rule out Cloudflare proxying
If you have the Cloudflare orange-cloud proxy enabled, disable it temporarily and set the record to DNS-only. This lets you hit your LAN origin directly and eliminates Cloudflare as a variable.
Step 2: Check firewalld
Firewalld on your Linux host may be silently blocking traffic to the cluster. Test quickly by temporarily stopping it:
sudo systemctl stop firewalld
If that fixes it, the firewall is the culprit. Don’t leave it disabled - instead, apply permanent rules. Find your zone first:
sudo firewall-cmd --get-active-zones
# e.g. FedoraWorkstation (default), interfaces: enp7s0
ZONE=FedoraWorkstation
Then open 80/443, the Traefik NodePorts, and trust the CNI interfaces:
sudo firewall-cmd --zone=$ZONE --add-service=http  --permanent
sudo firewall-cmd --zone=$ZONE --add-service=https --permanent

HTTP_NP=$(kubectl -n kube-system get svc traefik -o jsonpath='{.spec.ports[?(@.name=="web")].nodePort}')
HTTPS_NP=$(kubectl -n kube-system get svc traefik -o jsonpath='{.spec.ports[?(@.name=="websecure")].nodePort}')
sudo firewall-cmd --zone=$ZONE --add-port=${HTTP_NP}/tcp  --permanent
sudo firewall-cmd --zone=$ZONE --add-port=${HTTPS_NP}/tcp --permanent

sudo firewall-cmd --zone=trusted --add-interface=cni0      --permanent || true
sudo firewall-cmd --zone=trusted --add-interface=flannel.1 --permanent || true
sudo firewall-cmd --add-port=8472/udp --permanent

sudo firewall-cmd --reload
Quick re-test to confirm traffic is now flowing:
nc -vz 192.168.0.100 443
curl -sI --resolve jellyfin.example.com:443:192.168.0.100 https://jellyfin.example.com | head -n5
Step 3: Verify TLS and middlewares
If the firewall wasn’t the issue, check whether Traefik can actually see your TLS secret and that any referenced middlewares exist in the default namespace:
kubectl -n default get secret example-cert
kubectl -n kube-system logs deploy/traefik --tail=200 | grep -i 'error configuring tls'

kubectl -n default get middleware
# Remove any missing ones from your IngressRoute, or create them
Note: Jellyfin listens on HTTP internally. Make sure your Traefik IngressRoute has
scheme: http- nothttps.
Step 4: Test pod reachability directly
Finally, confirm that Traefik can actually reach the Jellyfin pod via its Service:
kubectl run netcheck --rm -it --restart=Never --image=busybox:1.36 -- sh -c \
'wget -S --spider http://jellyfin.default.svc.cluster.local:8096/ 2>&1 | head -n2; exit'
If this fails, check that the Service selector matches the pod labels and that the pod is in a Running state so Endpoints are populated.
Wire Prowlarr → Sonarr/Radarr
This step is not optional. Prowlarr is the indexer manager for the entire arr stack - without it connected to Sonarr and Radarr, neither app has any source to pull from and your automation pipeline is completely inert. Do this once all pods are confirmed healthy.
Inside Prowlarr, navigate to Settings → Apps and add Sonarr and Radarr using their cluster-internal DNS addresses: http://sonarr:8989 http://radarr:7878
These URLs are intentional. Inside Kubernetes, every Service is automatically reachable by its name within the same namespace - no LAN IPs, no port-forwarding needed. If you’re coming from a Docker Compose background this will feel familiar, but the underlying mechanism is Kubernetes DNS rather than Docker’s embedded resolver.
If “name does not resolve”: Check that the Service exists, its selectors match the pod labels, and the pod is in a Running state so Endpoints are populated.
To confirm the connection is healthy, check the Prowlarr → Apps status page - both Sonarr and Radarr should show a green Connected indicator. You can also do a quick sync test from Prowlarr to push your configured indexers through and verify they appear in Sonarr and Radarr under Settings → Indexers.
Wrap-up
And that’s it. A full media stack - Jellyfin, Sonarr, Radarr, Prowlarr - running on Kubernetes, served over HTTPS, with a wildcard cert that renews itself. No more babysitting containers. No more brittle mounts. Just vibes and automated TV downloads.
Here’s what actually did the heavy lifting:
- cert-manager + Cloudflare DNS-01 - install it once, forget it exists, profit
- SMB CSI driver - also a one-time install, because the Helm chart won’t hold your hand on this one
- One chart, one
values.yaml- apps, Services, IngressRoutes, SMB wiring, all of it - 502s - not a cluster problem, almost never is. Cloudflare proxy or firewalld. Check both, move on.
If you hit the ground running with this and want a pre-filled values.yaml for your domain and SMB paths, I’ll be dropping a values.example.yaml in the repo for copy-paste bliss.
The chart link lives here - I’ll keep it updated as things evolve.
Now go touch some grass. You’ve earned it. 🥳